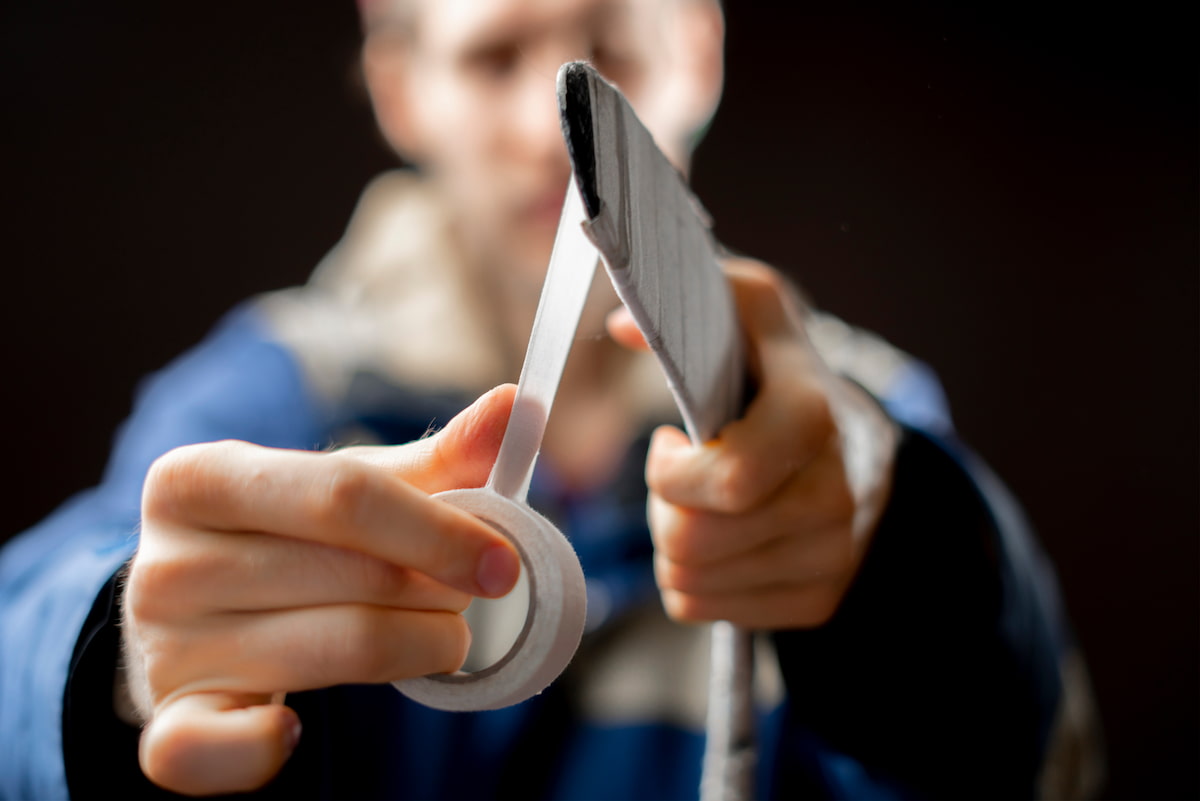
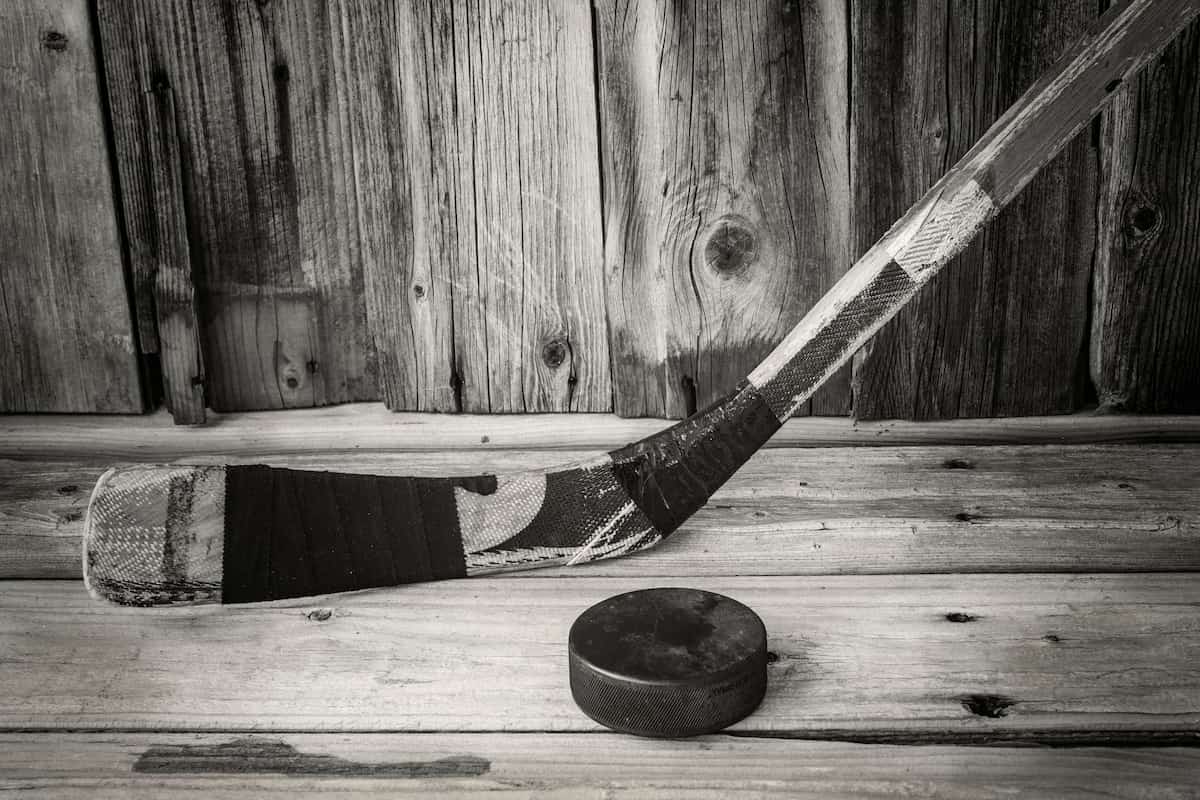
A question every hockey player will ask themselves at one point or another is how should I tape my hockey stick?
If you’ve ever seen a hockey game, you’ve probably noticed that the players put tape on both ends—the blade and the butt end—of their sticks. Sticks are taped to improve grip, optimize puck control, and reduce the risk of stick damage and breakage.
Whether you’ve clicked this article because you’re new to the game and it’s your first time taping up, or you’re a seasoned vet looking for some new taping tricks, we’ve got you covered with this list of different methods for how to tape a hockey stick!
Hockey Stick Blade Taping Methods
To kick off our list of taping methods, we’re starting at the bottom of the stick—the blade. Tape on the blade improves puck control and reduces stick damage from the ice’s surface.
There are several different taping methods you can use when dressing the blade of your stick. Each method has its own advantages. Ultimately, the method you choose will boil down to your own personal preference!
Taping Method #1: The Classic
The classic tape job is exactly what it sounds like… a classic! Used by kids and NHL players alike, this taping method gets the job done!
So, how do you tape your hockey stick using the classic method?
Start the tape at the heel of the blade and wrap the tape around the blade, with a slight overlap, until you reach the end. Leave the very tip of the blade—the toe—exposed.
This kind of tape job protects the entirety of the blade and will allow for increased control of the puck during stickhandling and shooting.
Advantages:
- Nearly full coverage of the blade
- Maximum puck control
- Does not use an excess of tape
Taping Method #2: The Sock
The sock tape job is very much like the classic, with one key difference: the tape is brought over the toe! Follow the classic tape job technique, then bring the tape all the way to the end of the blade and tape over the toe. As you wrap the tape over the toe, you may notice some excess tape hanging off the end of the stick. Use a pair of scissors to cut off the excess.
Advantages:
- Total coverage and full protection of the blade
- Maximum puck control
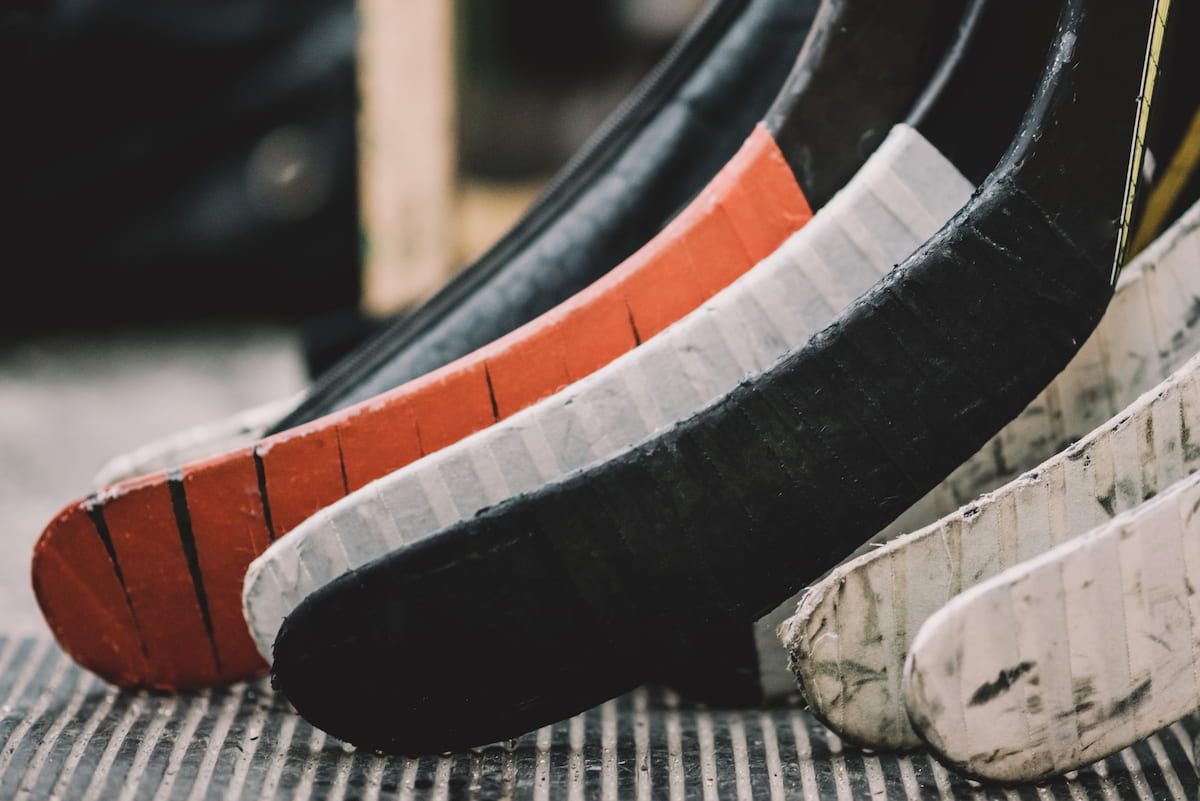
Taping Method #3: The Toe Cap
The toe cap is a tape job you won’t see super often, but is great if you’re wanting to shoot off snappy wrist shots!
The toe cap taping method starts at the center of the blade and wraps heel-to-toe, covering the toe of the blade completely. When you’re done taping, it should look like only half of the blade is covered, from the midpoint to the toe!
This taping method is for players who like to snap off quick shots from the toe of their blade.
Advantages:
- Optimizes quick wrist shots
- Uses significantly less tape than the classic or sock-taping method
Taping Method #4: The Five Strand
If you’re looking for a super quick way to tape your hockey stick, look no further than the five-strand method!
Find the center of the blade and start your taping there. Complete five full wraps of the blade going in the direction of the toe. And voila! You’re done. Simple, quick, and efficient.
This is a great method if you need an ultra-quick tape job before you hop on the ice.
Advantages:
- Fastest taping method
- Uses significantly less tape than the classic or sock-taping method
Hockey Stick Shaft Taping Methods
When stickhandling, your top hand is the hand most responsible for puck control, so it is essential that you have a good grip on your stick.
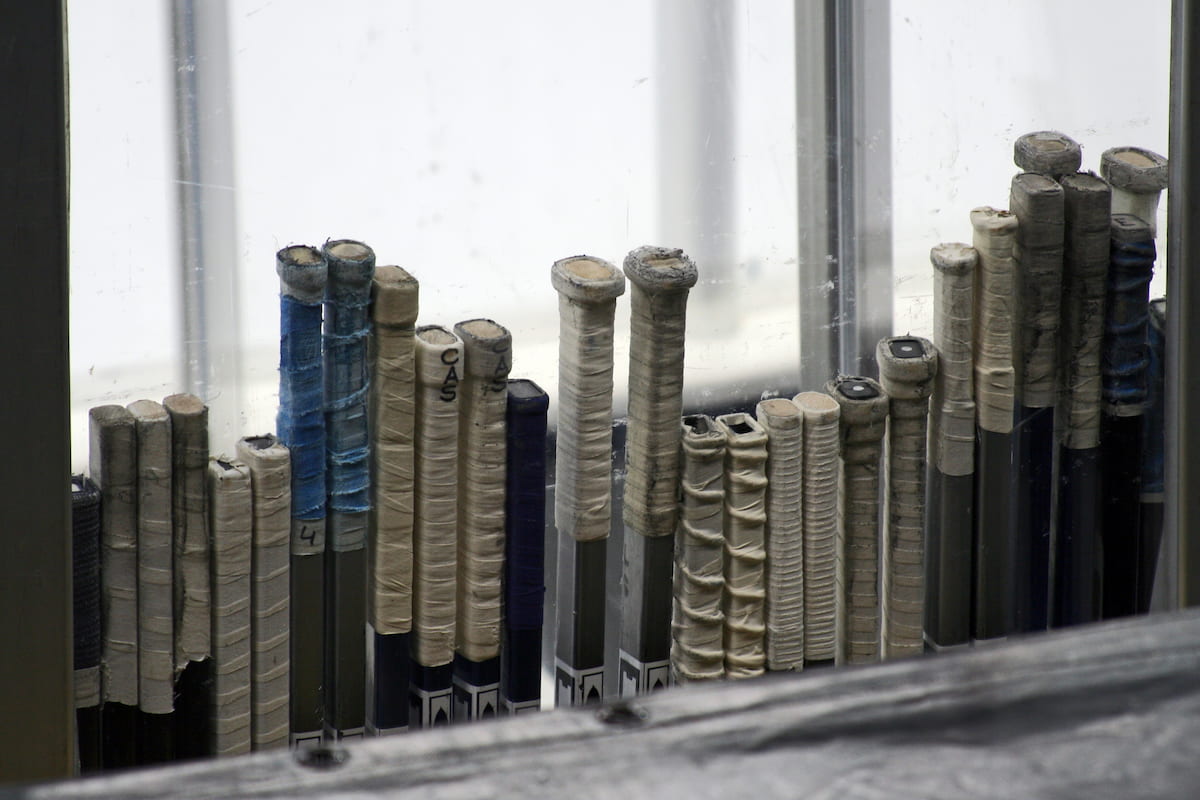
Some hockey sticks are designed with a grip embedded in the shaft, while others are not. And even if your stick does have a grip, you may want more grip than your equipment provides. This is why you’ll see the overwhelming majority of players taping the top end of their stick—to get that added grip that will increase control over the stick!
Taping Method #5: The Classic Butt End
Let’s start with a classic taping method yet again, but this time, for the top of your stick.
The classic butt-end tape job is one of the most widely used techniques for taping the top of a hockey stick. Boiling it down to its most simple form, it is wrapping the top end of the shaft in hockey tape or grip tape and, based on preference, adding a knob at the end.
Follow these steps to get the perfect classic butt end:
- Start with the knob. At the very end of your stick wrap the tape around as many times as you’d like until you reach the desired size of the knob. Knob size is a personal preference, and some players prefer no knob at all! Most, however, prefer to size their knob so their pinky can rest comfortably on it.
- Once you have your knob at the desired size, start taping just below the knob to make the grip for the rest of your hand. Tightly wrap the tape down the shaft in a diagonal pattern until you have reached the desired length—which, again, comes down to personal preference (though most players will usually make their butt end tape job around 4-10 inches long)! Cut the tape when you’re done wrapping.
- Some players like to add grip tape on top of the hockey tape.
Taping Method #6: The Candy Cane
For extra grip on the shaft of your stick, you might want to try out the candy cane taping method! This goes underneath the classic butt end.
The candy cane tape job is very similar to the classic butt end, but with a twisted ribbing rolled around the shaft of the stick that goes underneath the hockey tape—giving the top of the stick a candy cane-like appearance!
So how do you execute the candy cane tape job?
- Take your hockey tape and fasten one end to any surface.
- Pull the tape outward until you have a long piece.
- Twist the tape—by spinning the roll—until it is tightly wound. Wind it tight enough that it looks like a thick string.
- Cut the twisted tape from the roll and wrap it around the shaft of your stick. Use any spacing you desire for the wrap-around. This should create a ribbing effect. The wound-up tape will look like a candy cane pattern twirling down your stick.
- Use the classic butt end technique to tape on top of the candy cane ribbing to lock it down.
And there you have it, the candy cane tape job; a very popular variation on the classic butt end, famously used by players like Sidney Crosby!
Frequently Asked Questions About How To Tape A Hockey Stick
How do you prep your hockey stick for tape?
Prepping your stick for tape is a super important part of the process. Before you tape your stick, dry the surface completely and be sure there is absolutely no tape residue on the surface from a previous tape job.
How do you remove the old tape from your stick?
Some players re-tape their blades after each game, while others may go weeks or months between tapes. Really, it’s all up to your personal preference and how quickly the tape gets worn down.
When it finally comes time for you to remove the hockey tape from your stick, there are a few ways to go about doing it. Firstly, remove the tape manually to the best of your ability. Once the majority of the tape is off, you may be left with a little tape residue on the stick. To remove the residue, you can try a few different methods:
- Fill a bucket with warm water and add some dish soap. Soak the stick’s blade or shaft for a couple of minutes. Remove the stick from the water and rub off the residue with a cloth or soft sponge.
- Use a blow dryer to reheat the tape residue and then pull it off. Wipe the stick clean with a cloth or soft sponge.
- Use acetone (e.g. nail polish remover) to get the residue off. Note that this may take the paint off your stick in some instances.
What is the best tape to buy?
When taping your hockey stick, you’re going to want to get yourself some great hockey tape! If you’re looking to wrap up like the pros, Renfrew Pro Hockey Tape is the official tape used by most NHL teams.
Some hockey players also like to layer grip tape on top of their hockey tape handles. Renfrew also makes a stretch grip tape that comes in a variety of colors for you to choose from.
Should you use hockey tape on non-ice surfaces?
If you’re skating on a surface similar to ice, like synthetic ice, you’ll want to tape your stick just like you do on the rink! Use our discount code “lifeinminnesota” for a 15% discount on PolyGlide’s synthetic ice.
If you’re playing ball hockey on a concrete surface though, taping the blade of your hockey stick might not be the best idea! When playing on concrete, the tape can scrape and ball up, causing your stick to catch on the ground.
Tape Up Your Stick and Wind Up Your Best Shot!
So, in the end, how do you tape a hockey stick? Ultimately it comes down to you and what feels best on the ice!
Some trial and error can be expected while you perfect your taping technique, but each of the six taping methods in this article is a great place for you to start wrapping up for that slap shot! And if you want to learn more about perfecting those shots, check out online hockey training.
Looking to continue to up your hockey game? Check out our list of the best skates for 2023!
- About the Author
- Latest Posts

Born in Madelia, MN, to a now 5-generation Minnesota family, Ryan’s MN roots go deep.
A painter by day, Ryan founded Life in Minnesota in 2013 with his wife Kelly to chronicle their musings on everything Minnesota. Ryan and Kelly are raising their 7 kiddos in Maple Grove, MN.
When he’s not shuttling his kids around to hockey practice, you might find him in the shop working on his leatherwork. Undoubtedly, there will be a family trip to the Boundary Waters Canoe Area every summer, and of course weekends at Grandpa’s cabin up north in the summer.